It’s that time of the year again!
You know I love handmade gift ideas- in my previous post you can read about how you can turn your own travel pictures (or really, any pictures) into unique fridge magnets. If you haven't seen it, check it out!
http://blindinglights.blog.hu/2016/12/16/diy_fridge_magnets
When my friend Sabi showed me Collette Millers artwork series, it inspired me to paint again.
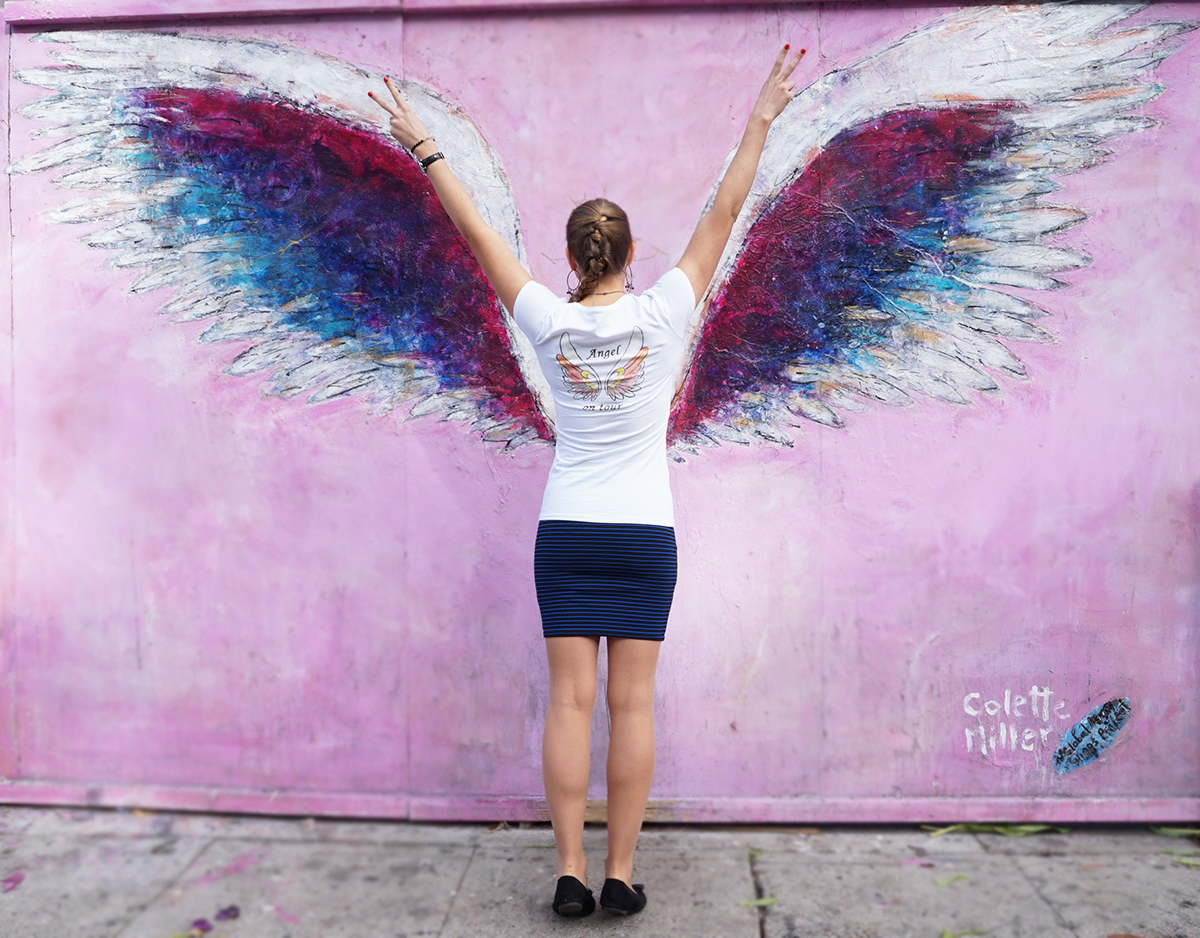
During our travels we have usually been quite lucky with the weather in general, and since she said the catchphrase „When angels travel, the sky is smiling” it kind of became the slogan for our trips.
My alternative version is „When the devil travels, the sky is crying”, but uhm, the devil is and always will be a gentleman , therefore blue skies are guiding our way. Haha
When visiting someone, I think it’s nice to bring a little gift so before my trip to Los Angeles I made these t-shirts for us- no better place than the City of Angels to wear them.

Some tips, if you would like to make your own souvenir t-shirts
Choose plain 100% cotton t-shirts, possibly in white or a light color, the paint looks better on these.
Decide about the design what you would like to have on your t-shirt. After getting some inspiration from photos I found in Google, I draw my own version for the wings, but you can also use a photo or search for something on the internet.
Depending on how complicated the design is, you can choose from different technics to create your stylish t-shirt.
1, Print and iron
Easiest version, suitable for more complicated images.
Most of the art and craft shops sell printable transfer papers. Reverse the image and set it to the size what you would like to see on your t-shirt.
Read the instructions enclosed to the pare, print out the design and cut out the image you need.
Lay the transfer paper on the fabric and iron it without steam.
When you choose this method, I recommend handwash only in max 30 Celsius warm water, washing machine usually destroys the design.
2, Print, iron and paint
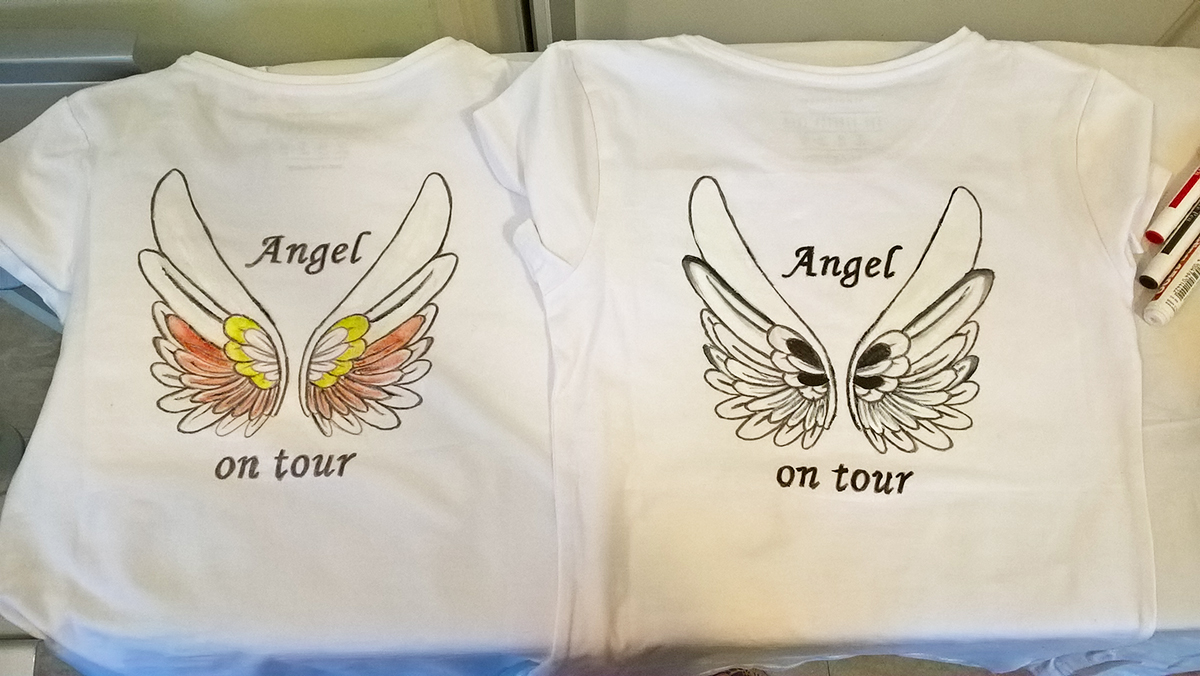
I used this technic for these t-shirts. After printing the reversed design and ironing it on the t-shirts, I colored the wings with fabric pens and textile paint. Before painting on the fabric, place a piece of paper or cardboard in the t-shirt to prevent the paint transferring to the other side.
Same care instructions apply, the t-shirt painted with this technic is handwash only.
3, Print and paint/draw
Most of the t-shirts I previously made, were done with this technic.
For transparent fabrics, print out the design and put it underneath the fabric. Copy the siluettes with a soft pencil or a pen.
For thick materials, it is advised to use a stencil.
The easiest is to use a fabric painting stencil or freezer paper. Make sure that the stencil is laying flat against the shirt, or the paint will bleed under the edges.
Fabric painting stencils usually have a sticky back. All you have to do is smooth the paper down.
If you are using freezer paper, iron the paper shiny side down onto the t-shirt.
Use fabric pen or paint the design on the shirt. Allow to dry at least 3 hours, then peel the stencil and papers away.
With this technic, the t-shirt will be machine washable in max 40 Celcius warm water.
Have you ever tried designing your own t-shirts?

